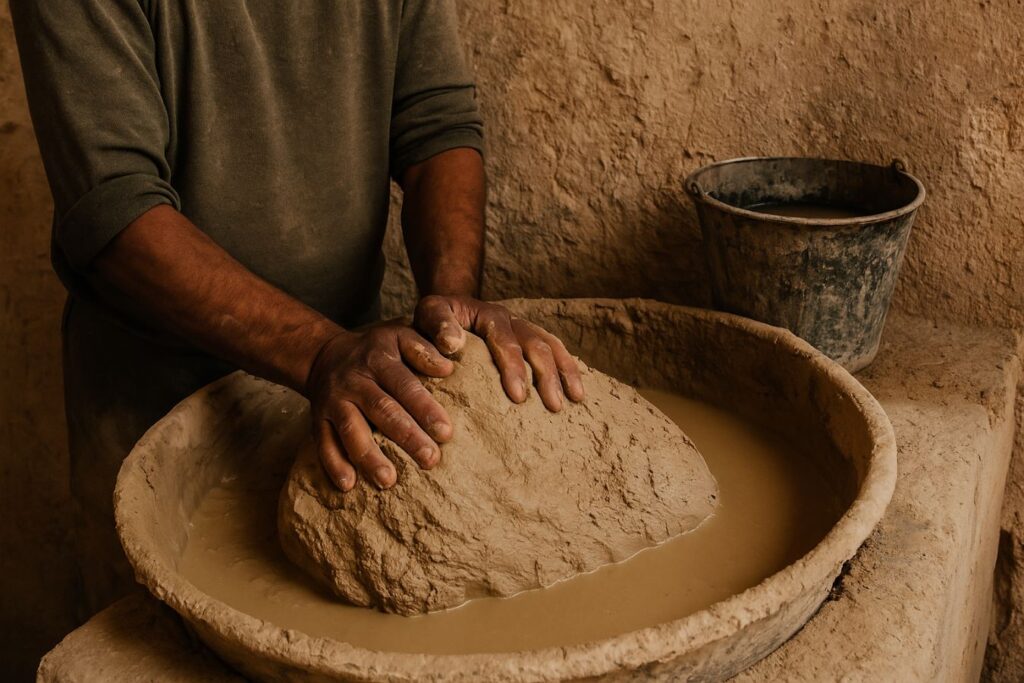
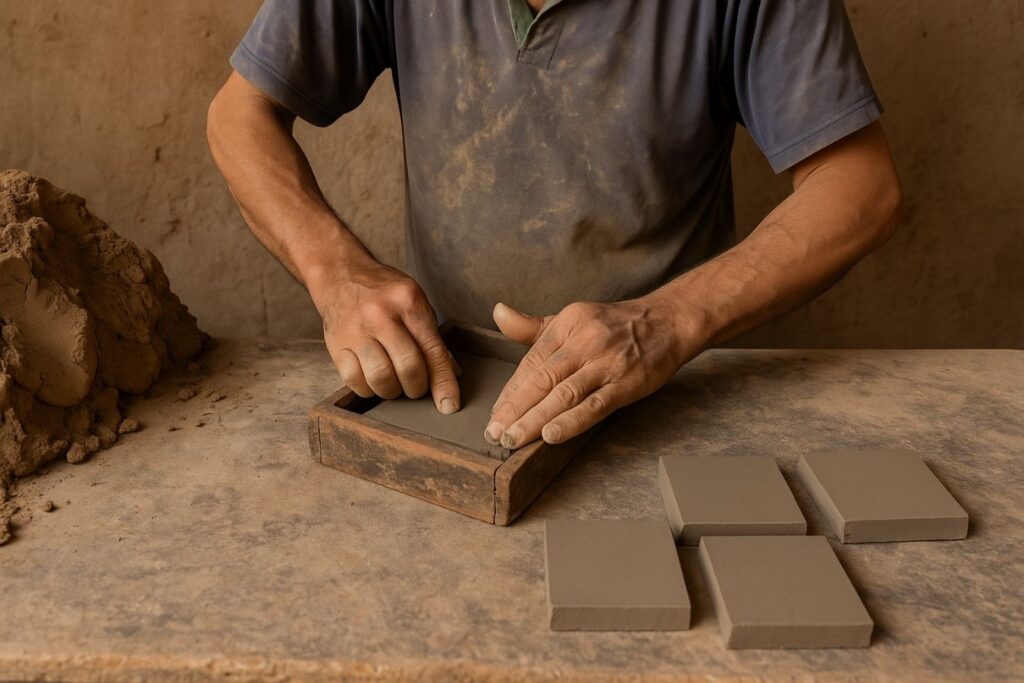
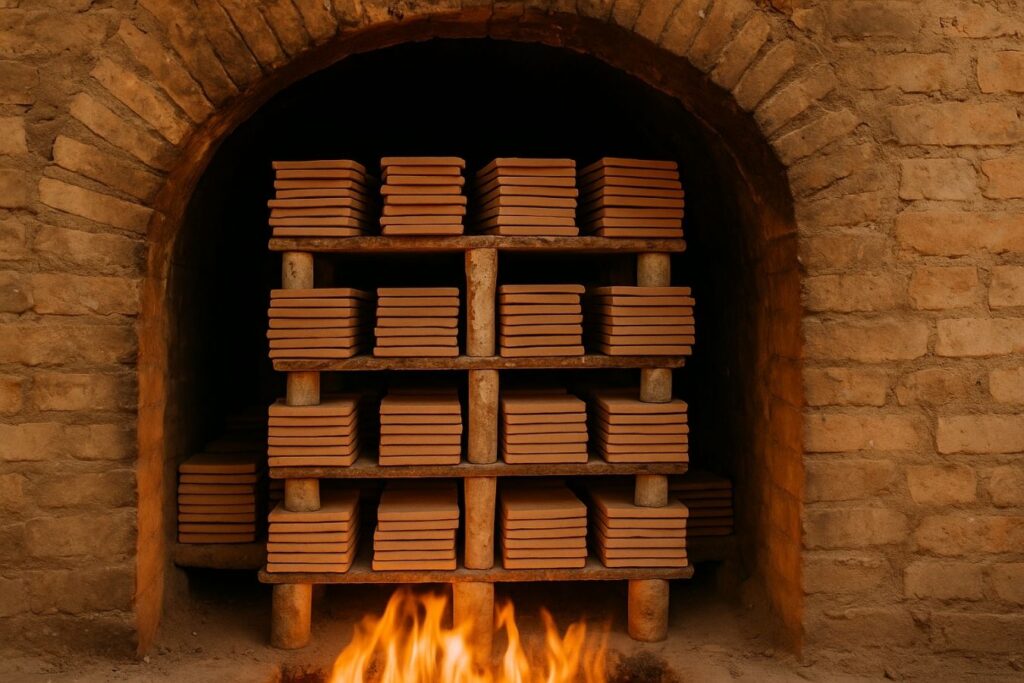
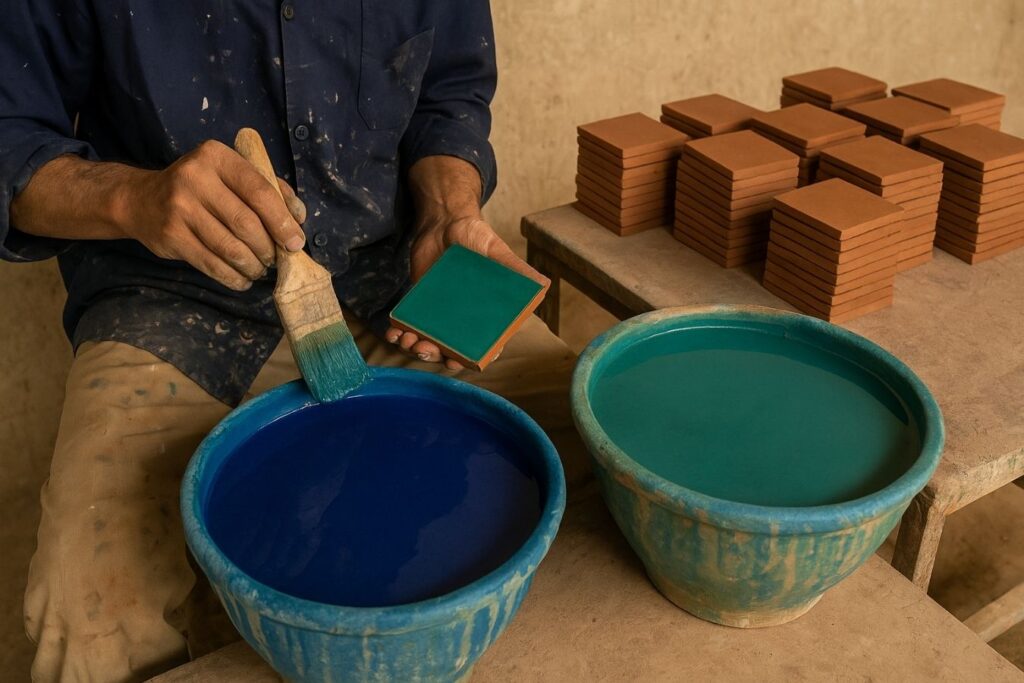
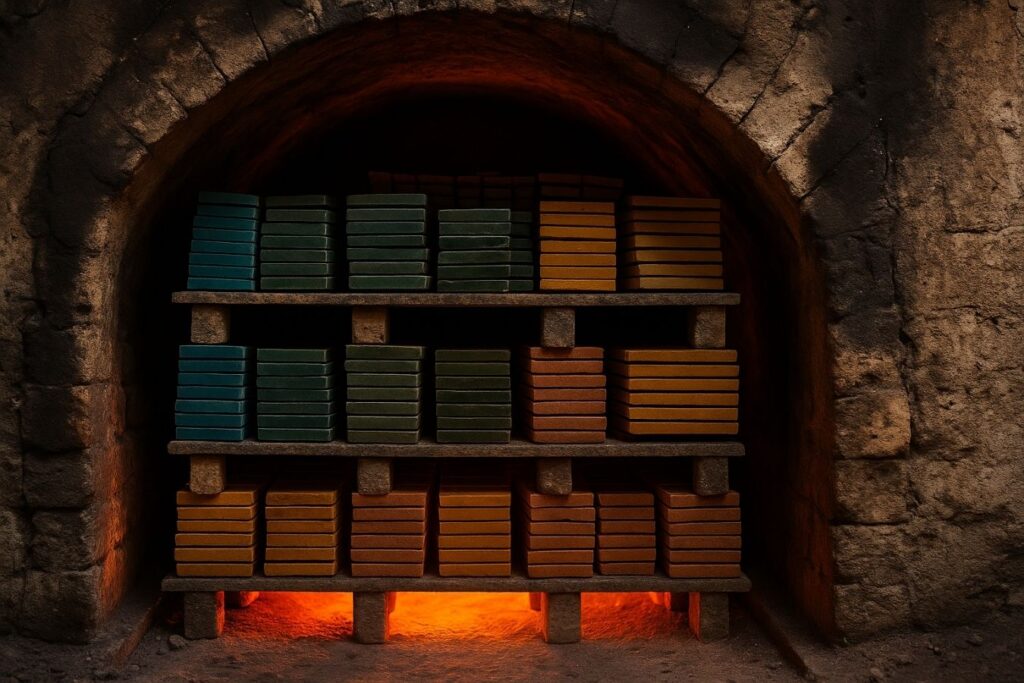
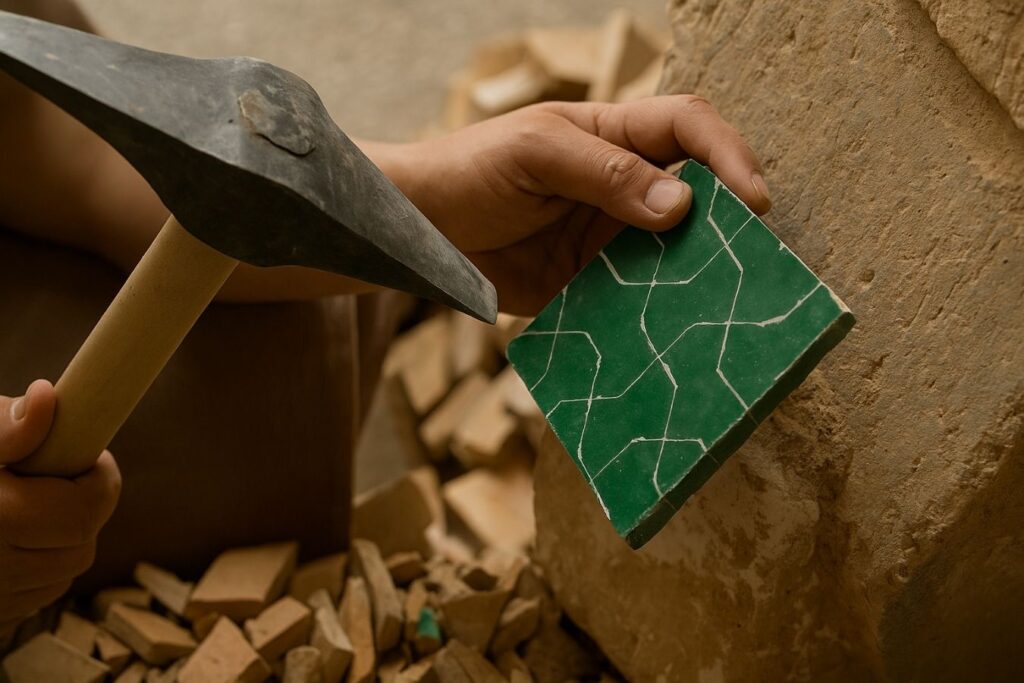
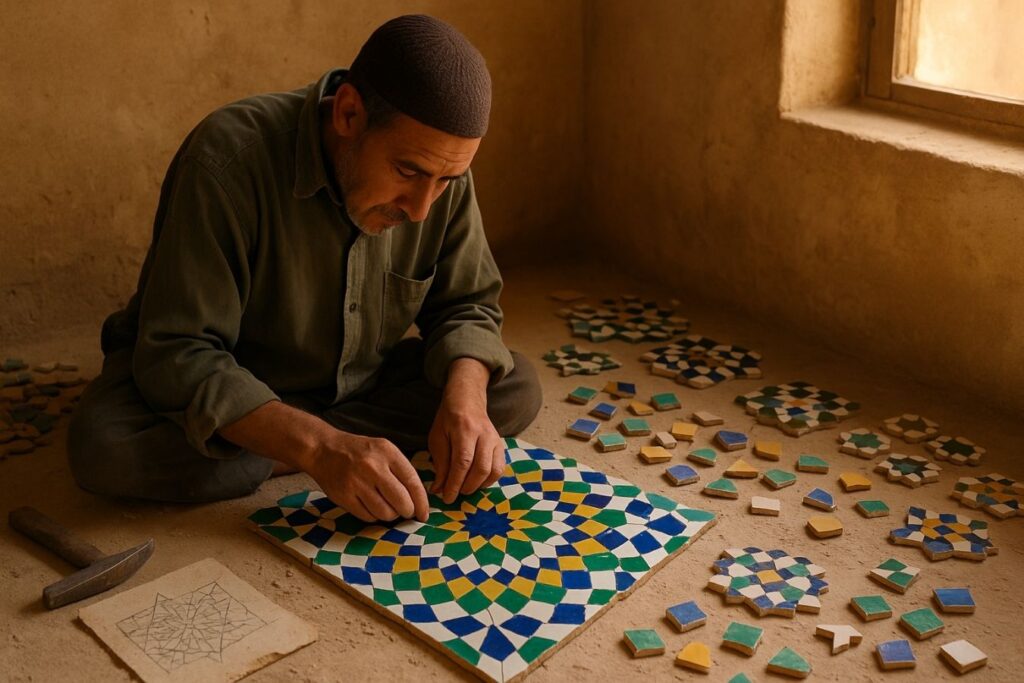
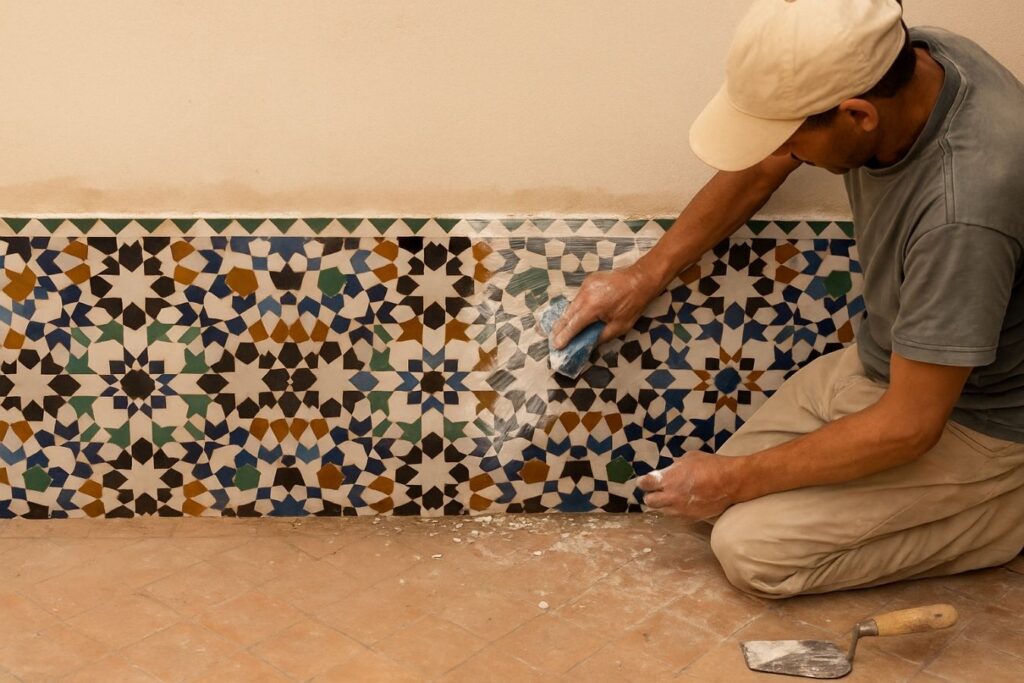
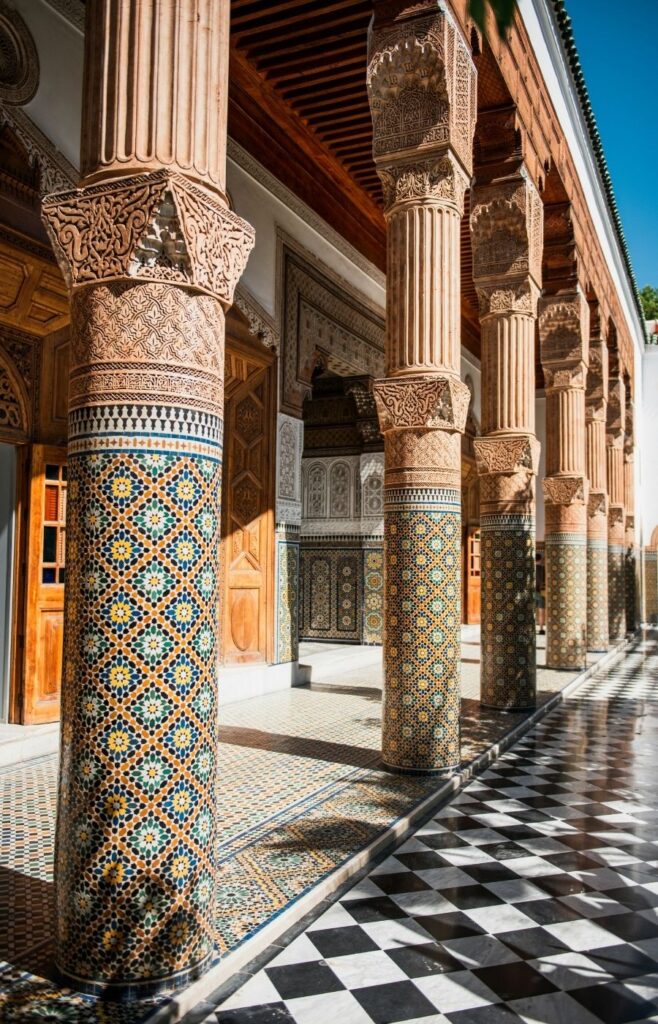
Morocco is a country rich in artistry and craftsmanship, and one of its most renowned traditional crafts is the creation of zellige tiles. These vibrant, hand-cut tiles are an integral part of Moroccan architecture, adorning everything from the walls of palaces and mosques to fountains and courtyards. With their geometric patterns and striking colors, zellige tiles have become synonymous with Moroccan culture and design.
But what makes zellige tiles so unique? How are they made? In this article, we’ll take you through the traditional process of creating zellige tiles, highlighting the techniques, artistry, and cultural significance behind this timeless craft.
1. Sourcing and Preparing the Clay
The journey of crafting zellige tiles begins with sourcing the clay, which is often obtained from the region surrounding Fez, a city renowned for its pottery and ceramic traditions. The clay is carefully selected for its quality and consistency. Once the clay is harvested, it is mixed with water and left to soak for several days to soften it. This process ensures that the clay will be smooth, workable, and free of impurities.
Once the clay has reached the right texture, it is kneaded by hand to remove air bubbles and ensure consistency. This process is essential for making strong, durable tiles that will withstand both the firing process and the test of time.

2. Shaping the Tiles
The next step in the creation of zellige tiles is shaping. The clay is pressed into wooden molds, which give it the square or rectangular shape typical of traditional zellige tiles. At this stage, the clay is still slightly soft and malleable, allowing it to be easily molded into the desired shape.
The artisan carefully presses the clay into the mold, ensuring that it fills every corner and edge. Once the clay has been shaped, it is left to dry in the sun, but not fully. The tiles need to remain slightly moist so that they are firm enough for cutting and firing but still flexible enough to avoid cracking.

3. First Firing: Biscuit Firing
Once the tiles are dried to a leather-hard consistency, they are ready for their first firing in a kiln. This initial firing, known as biscuit firing, is a crucial step in the process. During this stage, the tiles are heated to a high temperature, typically around 1000°C (1832°F), to transform them into a more durable ceramic state.
The biscuit firing strengthens the tiles and makes them easier to handle during the glazing and cutting processes. This step also helps remove any remaining moisture in the tiles, making them more stable for the next stages of production.

4. Glazing: Adding the Vibrant Colors
After the tiles have been biscuit-fired and cooled, the next step is glazing. This is where the distinctive colors of zellige tiles come to life. Traditional glazes are made from tin-based minerals and natural pigments, giving the tiles their signature glossy finish and vibrant hues.
Artisans apply the glaze to each tile by either dipping it into a glaze bath or using a brush to apply the glaze by hand. The glaze is often made with a blend of cobalt (for blues), copper (for greens), and iron oxide (for reds and yellows), along with other minerals to create the rich color palette that zellige tiles are known for.
Once the glaze has been applied, the tiles are set aside to dry before undergoing a second round of firing.

5. Second Firing: Glaze Firing
The second firing, known as glaze firing, is the process that permanently bonds the glaze to the ceramic tiles. The tiles are placed back into the kiln and heated to a temperature that causes the glaze to fuse to the surface of the tile, creating a smooth, glass-like finish.
This second firing also intensifies the colors of the glaze, making them more vibrant and rich. The tiles are now fully glazed, giving them the brilliant shine that is characteristic of zellige tiles. After this step, the tiles are ready for the next stage: cutting and shaping.

6. Cutting and Shaping the Tiles
After the glaze firing, the tiles are removed from the kiln and allowed to cool. Now comes the most delicate part of the process: cutting and shaping the tiles into smaller pieces. Artisans use hammers and chisels to cut the tiles into specific shapes, such as squares, triangles, diamonds, hexagons, and other geometric shapes that are commonly seen in traditional zellige designs.
This step requires a high degree of skill and precision, as the tiles must be cut with clean edges to fit perfectly into the larger design. Many intricate zellige patterns require small, precisely cut pieces to create the larger mosaic, and the artisan’s craftsmanship is key to achieving the stunning detail and symmetry that zellige is known for.

7. Assembling the Mosaic
Once the tiles have been cut into their various shapes, the next step is the assembly of the mosaic. Artisans carefully arrange the tiles to form the intricate patterns that are characteristic of zellige designs. These patterns often feature geometric shapes such as stars, hexagons, diamonds, and flowers, all coming together to create larger, complex designs.
The tiles are laid out on a flat surface, and the artisan arranges them according to the predetermined pattern. Some designs are laid directly onto the installation surface, while others may be assembled on a separate platform and then transferred to their final location.

8. Final Installation and Grouting
Once the tiles have been arranged, they are affixed to their final installation surface, whether it’s a wall, floor, or fountain. The tiles are secured with a layer of mortar or cement, and the gaps between the tiles are filled with grout to ensure a smooth, even surface.
Once the tiles are in place, the final cleaning process begins. Any excess grout or mortar is wiped away, revealing the brilliant colors and intricate patterns of the completed mosaic. The tiles are carefully polished and cleaned, ensuring that the surface is smooth and glossy.

The Legacy and Beauty of Zellige Tiles
The process of making zellige tiles is a labor-intensive and skillful craft that has been passed down through generations of Moroccan artisans. The combination of traditional techniques and natural materials results in tiles that are not only durable and beautiful but also imbued with cultural significance. Each tile is a small work of art, and the mosaics they create serve as a testament to the artistry and craftsmanship of Moroccan culture.
From the ancient palaces of Fez to the modern buildings of Casablanca, zellige tiles continue to play an essential role in Moroccan architecture. Whether adorning fountains, courtyards, or interiors, they bring a timeless beauty and cultural depth to any space.

The making of Moroccan zellige tiles is a captivating journey that requires expertise, patience, and a deep respect for tradition. Each step of the process—from shaping the clay to assembling the intricate mosaics—contributes to the creation of tiles that are not only functional but also stunning works of art. Whether in traditional or contemporary settings, zellige tiles continue to embody the spirit and craftsmanship of Morocco.ullamcorper mattis, pulvinar dapibus leo.